Creating a new environment on Nebari
Introduction
In this tutorial, you will learn how to create a new environment on Nebari using conda-store,
install new conda packages in your environment, manage multiple environments, and also share the environment with other Nebari users.
Why using conda environments
Development environments give developers and Data Scientists a "sandbox" to work in, experiment with new packages, work across multiple projects, and collaborate with their peers.
Environment and package managers such as conda enable you to create isolated spaces to separate dependencies on a per-project basis.
They also add other benefits such as:
- Reduce friction to install and upgrade dependencies without affecting other projects or users
- Reduce the risk of dependency conflicts
- Promote reproducibility and replicability through dependency pinning
- Reduce the "works on my machine" risk - thus working towards reproducible builds across multiple machines
What is conda?
Conda is an open source package management system that allows you to create
environments and install packages into them. It allows the creators of a package to specify required dependencies
which conda can then solve into an environment. Conda can then run an update on the environment to pull all the
latest versions of the packages while still maintaining compatibility.
While conda manages compatibility between the packages in the environment, by default, this does not guarantee reproducible builds over time.
An environment created with a list of packages today can differ from that same environment created with the same
list of packages tomorrow. This can happen because package dependencies have changed, new releases have occurred,
or even because a package is no longer available.
What is conda-store?
conda-store is a Python package that serves identical conda environments by controlling the
environment lifecycle.
It ensures that the management, building, and serving of environments is as identical as possible and seamless for the end users.
All environments in Nebari are served through conda-store.
Using conda-store, Nebari admins can track specific files or directories for changes in environment specifications.
They can manage environments using the web interface, REST API, or the command-line utility (CLI).
This tutorial focuses on using the web interface to interact with our environments.
Step 1 - Exploring the conda-store web interface
To get started, navigate to
https://<your-nebari-domain>/conda-store(for example, https://quansight.qhub.dev/conda-store).You will need to log in to authenticate to the
conda-storeinterface - this is required to be able to access most ofconda-storefunctionalities.
This will lead you through a series of windows to authorize with Keycloak, after which you will have access to the
conda-storedashboard. By default, you will be directed to the user page containing information about your account and the associated permissions.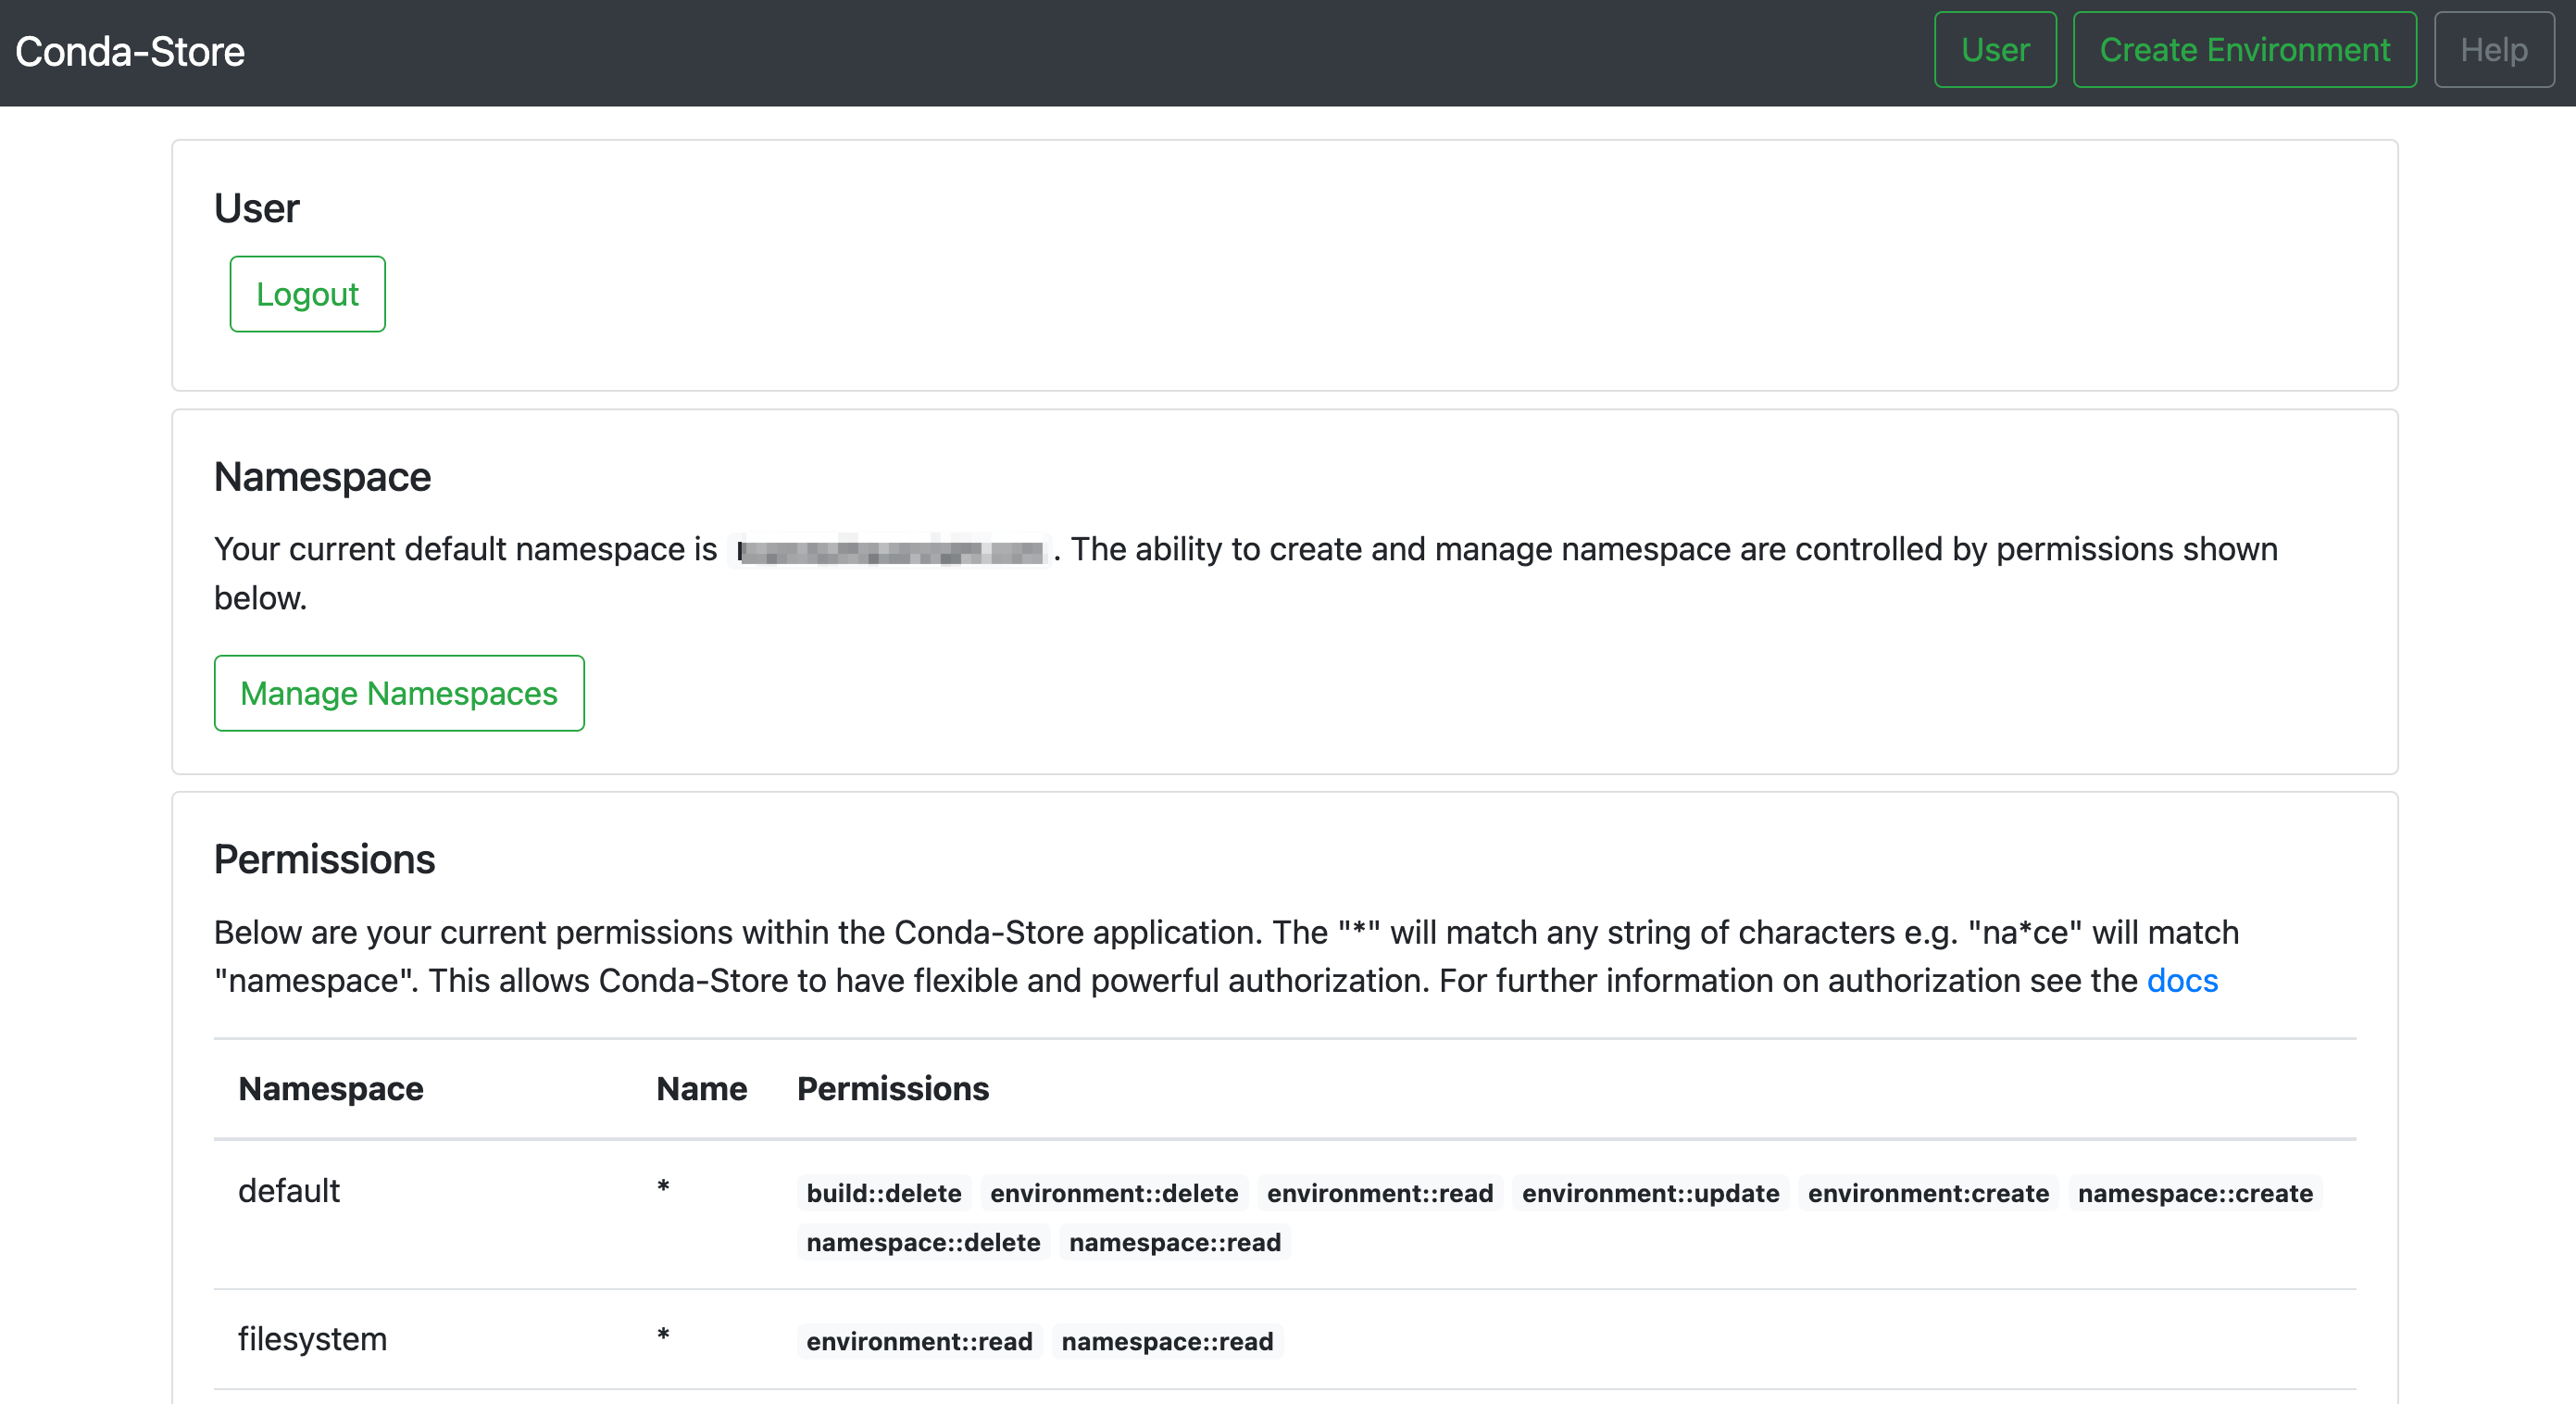
Some useful sections to notice in the user page are:
- User: this section of the dashboard allows users to explicitly logout of the interface.
- Namespaces:
Namespacesare an important part of theconda-storeauthorization model. They control what level of access users are provided to the individual environments. In other words, based on your permissions in each namespace, your ability to create, read, update, or delete and environment will differ. - Permissions: your current permissions in each namespace.
That is, unless your admin has configured your namespace differently. You can see here that the conda-store
authorization model is able to provide admins with a fine-grained level of control.
Step 2 - Creating a new environment
To create a new environment, click on the
Create New Environmentbutton on the top right of the navigation bar. You will be presented with an option to upload a conda YAML file or write your own.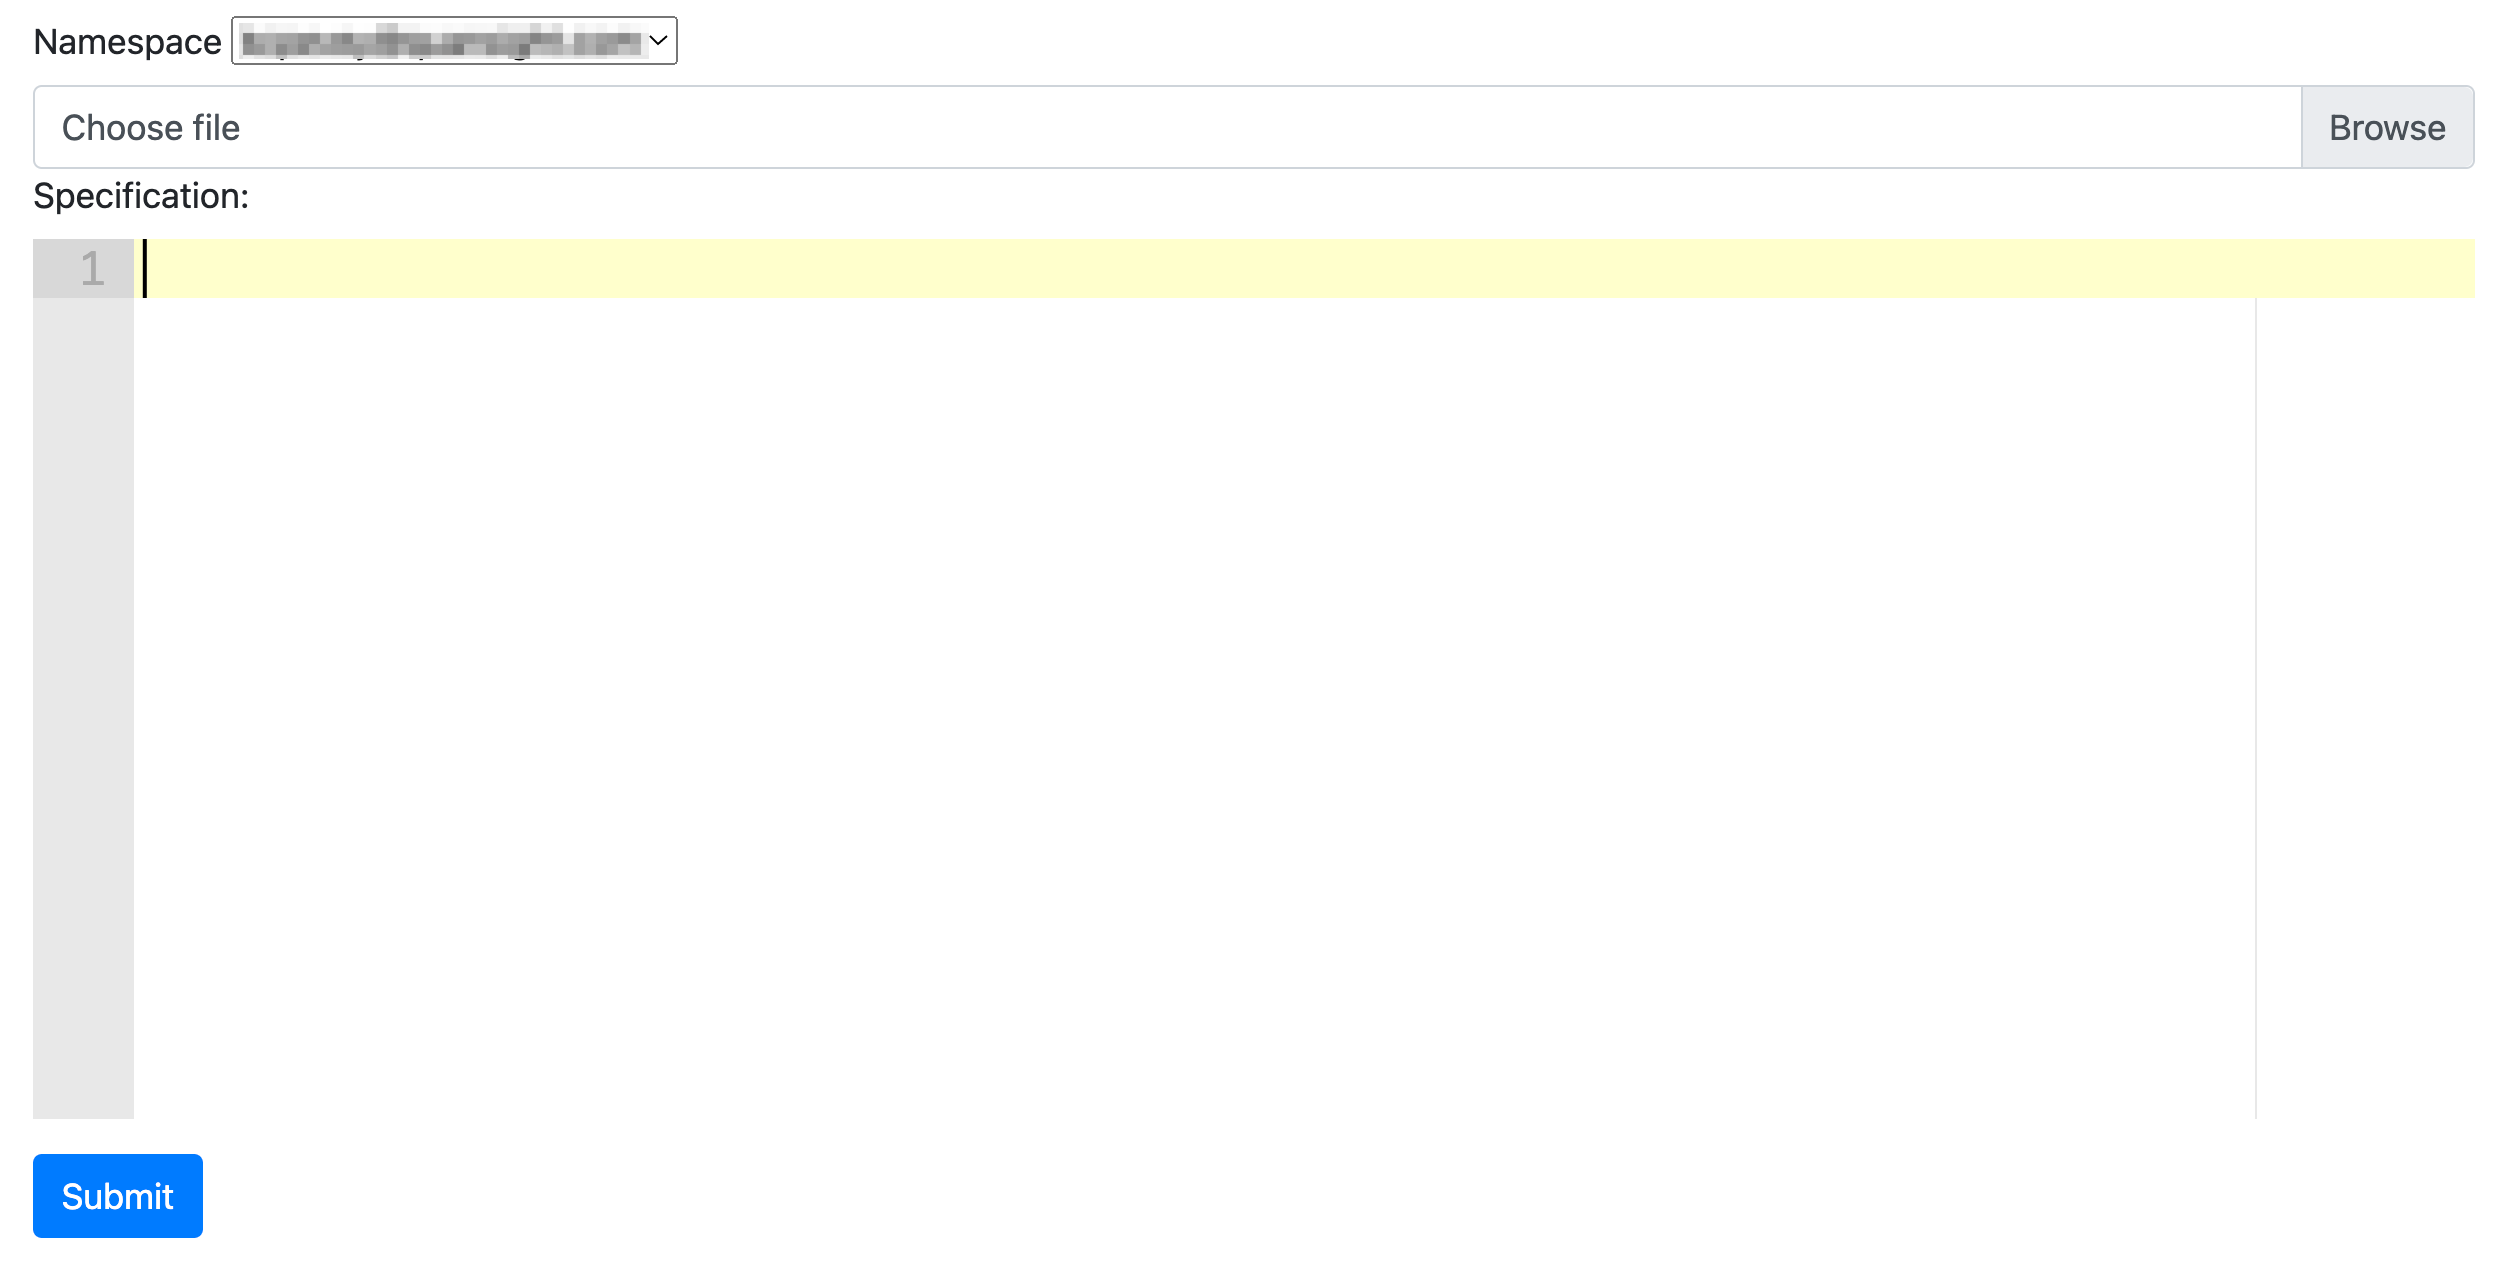
For this tutorial, you can copy and paste the following environment specification:
Sample environment specificationchannels:
- conda-forge
dependencies:
- python=3.9
- numpy
- matplotlib
- pandas
- panel
- ipykernel
- ipywidgets
name: example-environment
prefix: nullAfter you copy the above into the UI, go ahead and click the
Submitbutton.You will be redirected to the environments overview page. Find the card with the name of the new environment under your user's namespace (e.g.
<your-username>/example-environment).
Click on the card for your newly created environment. The UI will display the environment specification:
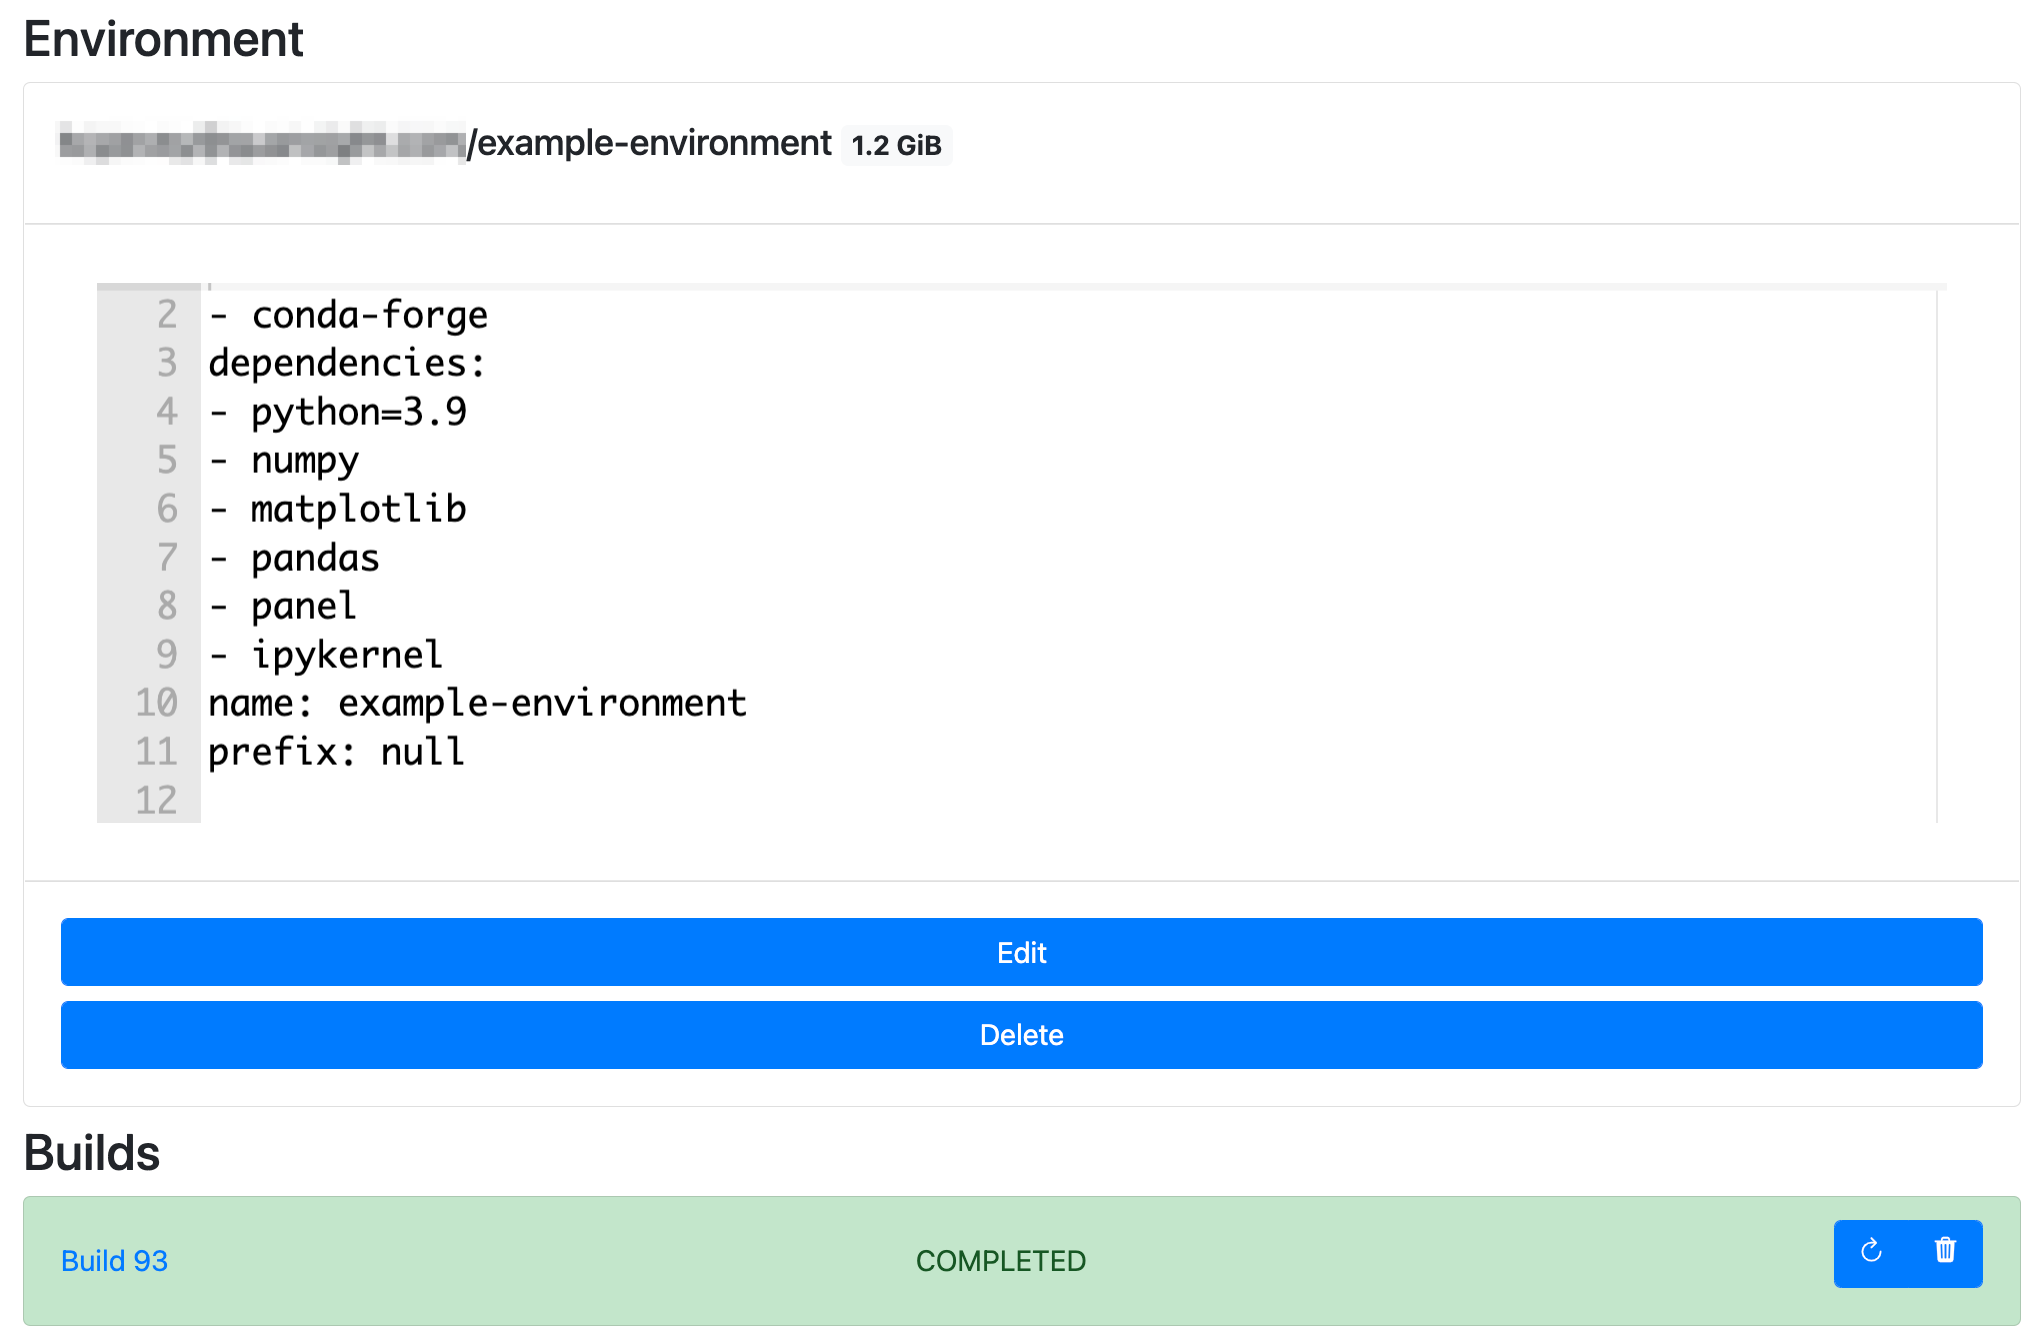
If this is the first time visiting this page, the environment may still be in the process of building. The page will automatically update when the build is complete.
From this page, you can
Edityour YAML specification, or evenDeletethe environment.note
conda-storetracks all the environments behind the scenes for the users. Even if a user "deletes" an environment, it will still exist in the store. This ensures admins always have access to environment history.Now let's take a closer look at the
condabuild detail, to do this, click on the build number link in theconda-storeinterface. This will display a new page with the metadata about the environment including the time, size and status. Also included is your original YAML specification and a list of all the installed dependencies, their version and the usedcondachannels.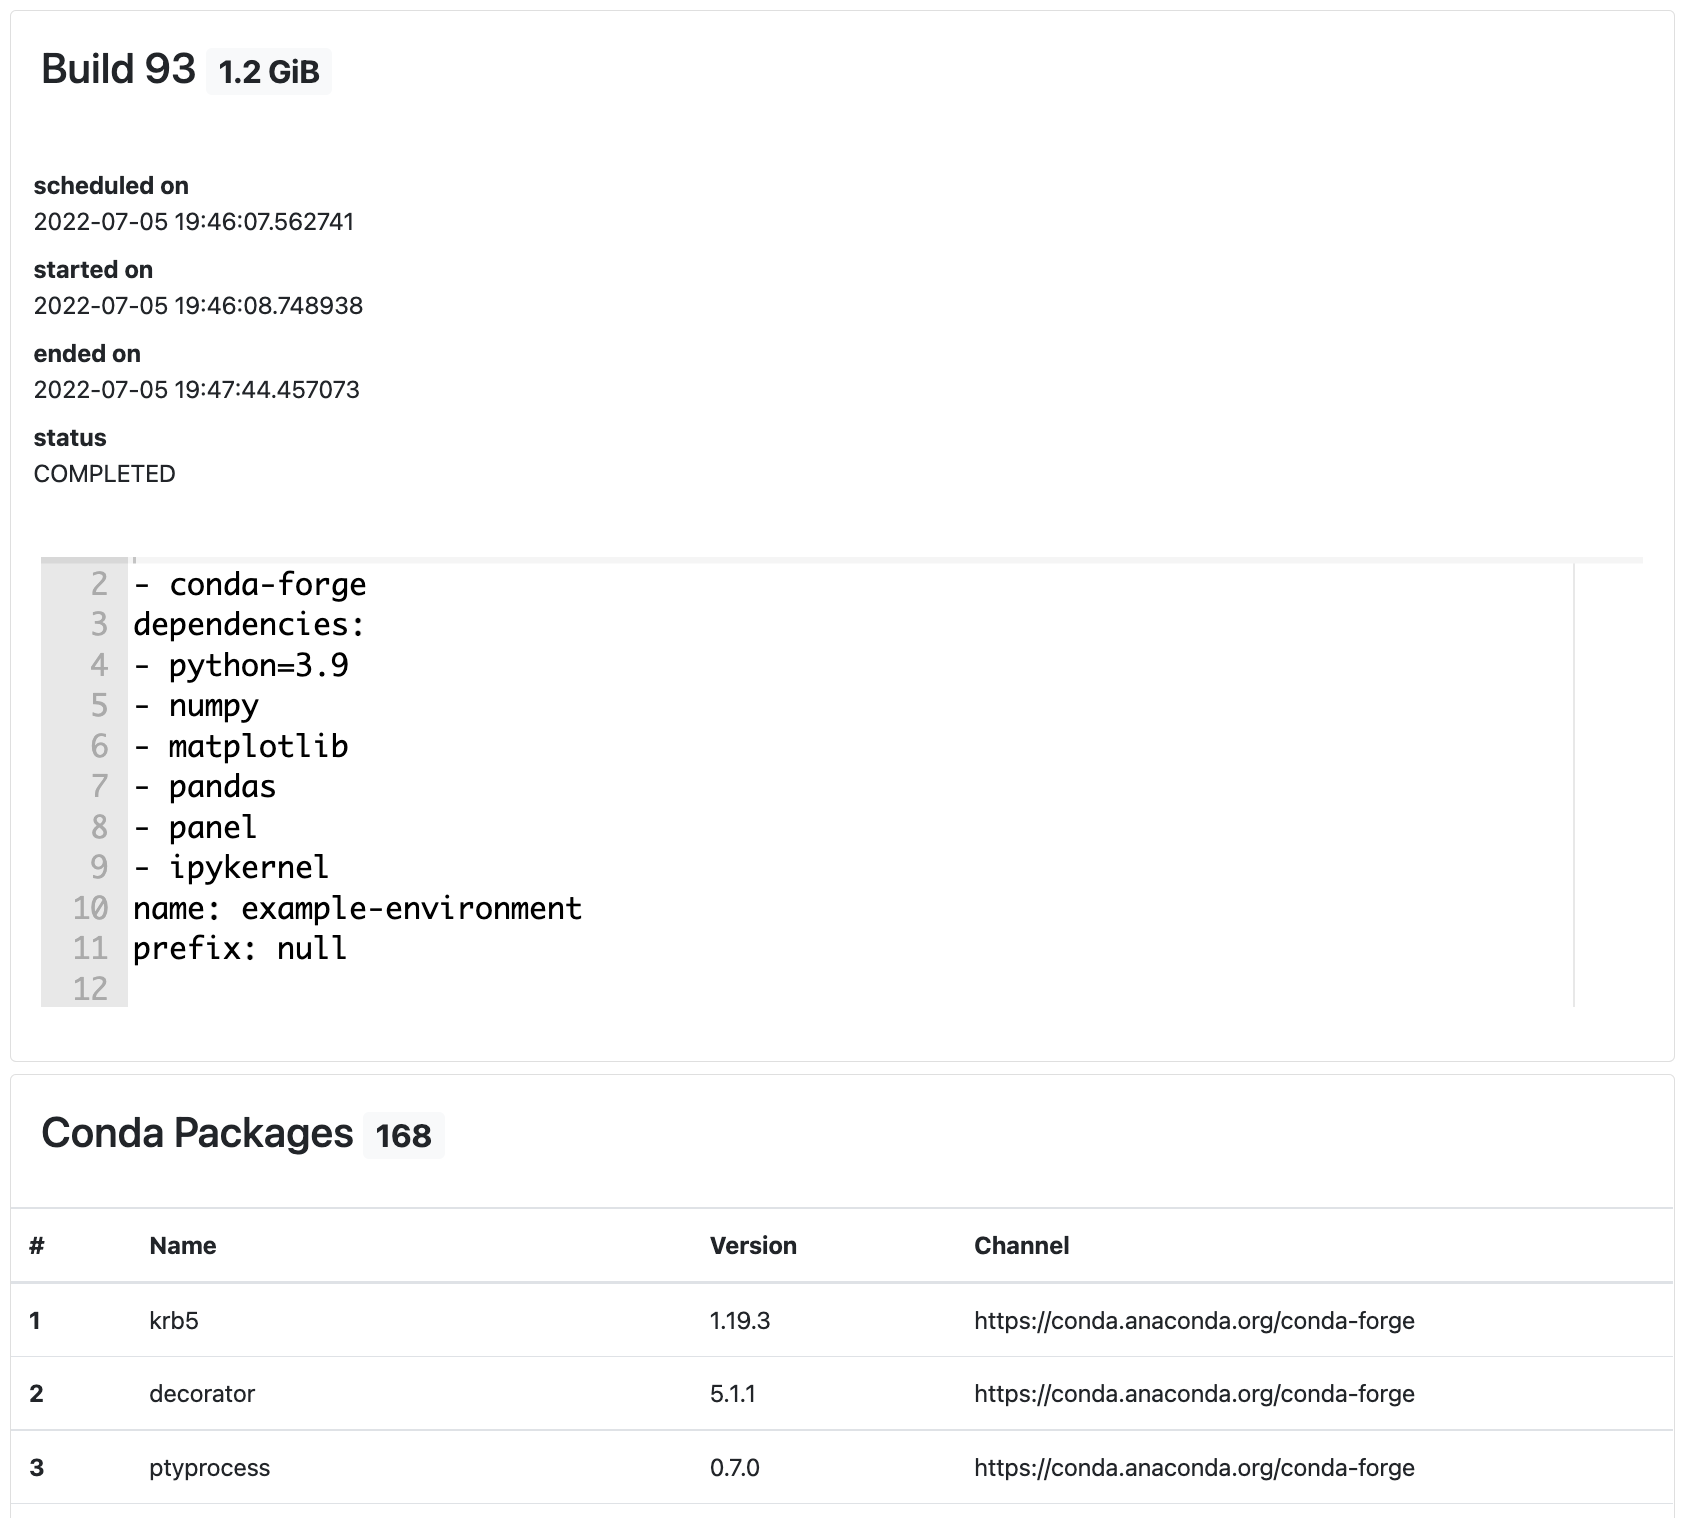
Scroll down to the bottom of this list, and you'll see a section called
Conda Environment Artifacts. This is where you can download your own copy of the YAML file, a conda-lock file, and atar.gzarchive of the environment.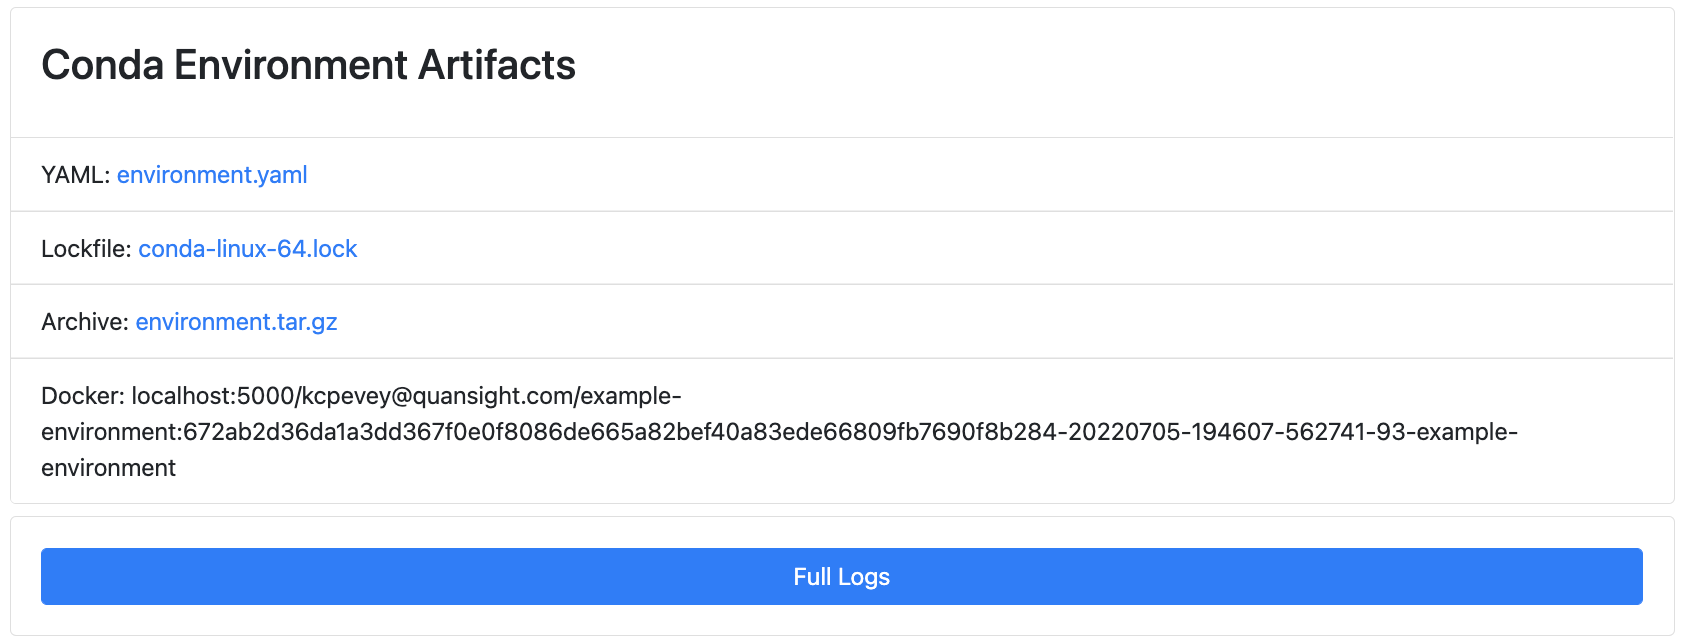
Lastly, click on
Full Logsto view the full output from thecondabuild.
note
If you want to use your new environment in a Jupyter Notebook, don't forget to include ipykernel and ipywidgets in
your environment’s yaml file, or it may not be visible in the list of available kernels.
Step 3 - Installing packages via conda or pip
To install new packages through either conda or pip you'll need to navigate back to the Edit page of your environment
in the conda-store web interface.
Adding conda packages to a conda-store environment via the command line, is not possible since the files are
read-only in that context.
Additionally, adding pip packages via the command line is strongly discouraged. Not only do conda and pip not
always play nice together, but it can lead to some inconsistencies across users' dependencies.
This happens because when you pip install a package from the command line this is installed in your .local folder, so this changes will not be applied to other Nebari users.
note
One exception to this rule is packages that you are actively developing. As you are building a package, you will likely want to install it as a dev package. This can be done using:
pip install --no-build-isolation --user -e .
Or, if you’re using flit, you can install with:
flit install -s
Please keep in mind that these are NOT available to Dask workers!
Troubleshooting
If you have an environment that fails to build properly, you'll be able to see this failure on the build status page.
Navigate to the
Full Logsto investigate in more detail. Also, from the build status page you can trigger re-build in case you hit issues with intermittent outages, etc.If you need to use Dask.
We highly recommend you include the QHub Dask metapackage to maintain version compatibility between the Dask client and server. This replaces
distributed,dask, anddask-gatewaywith the correctly pinned versions.